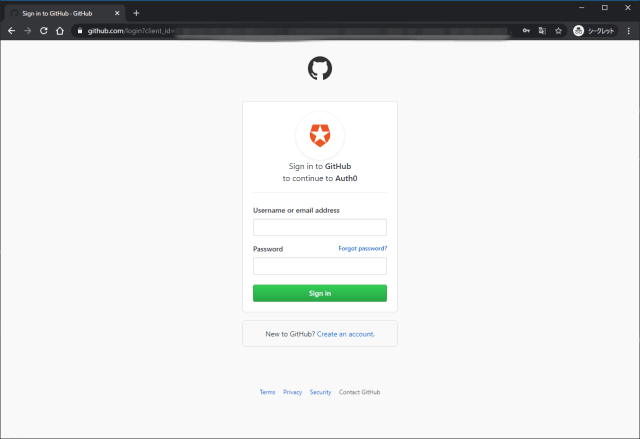
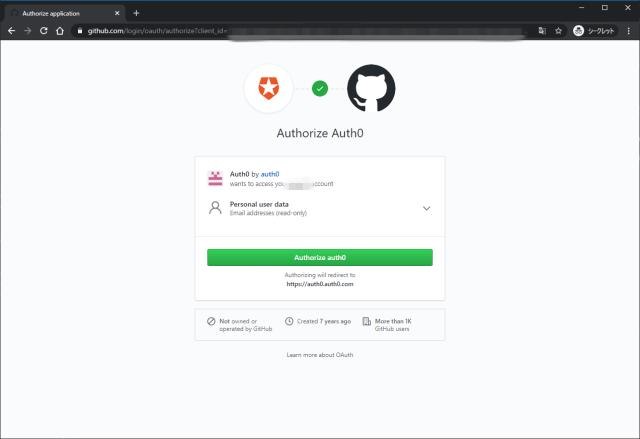
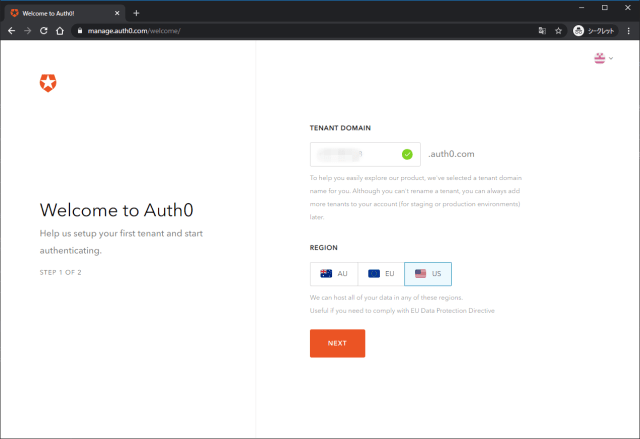
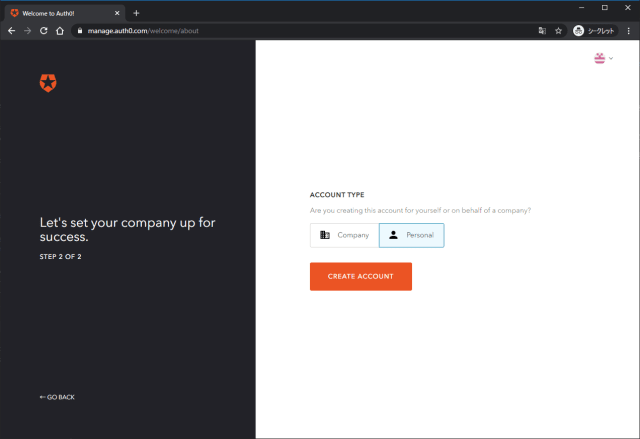
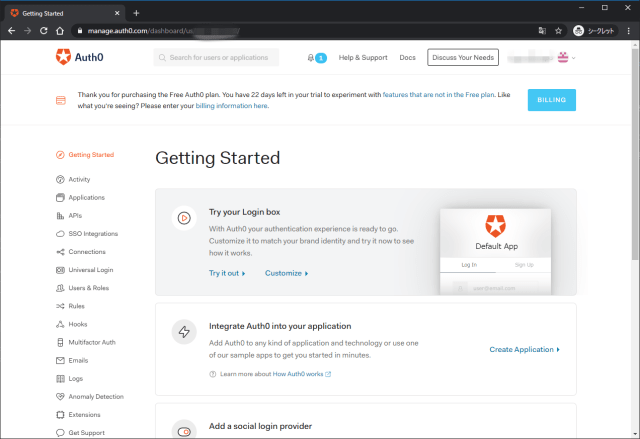
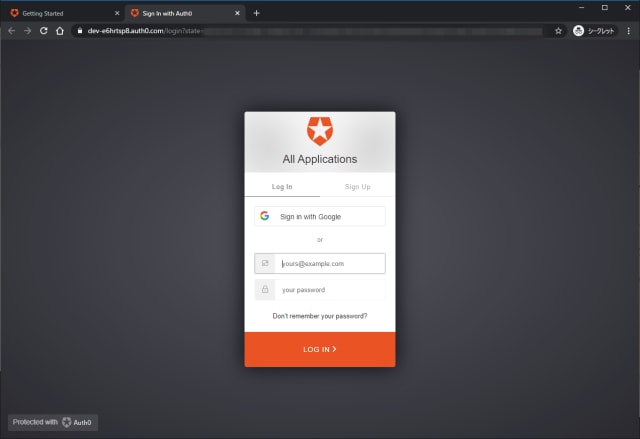
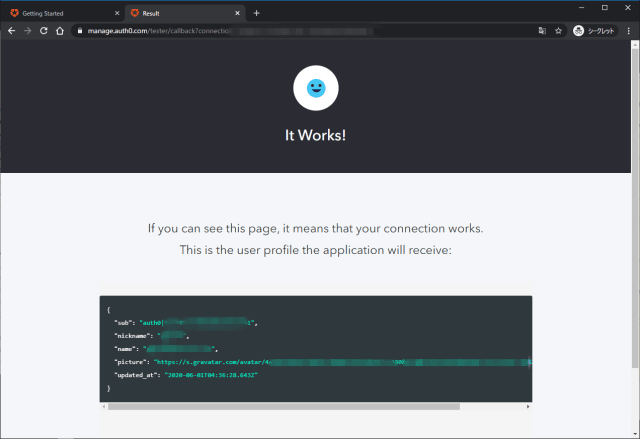
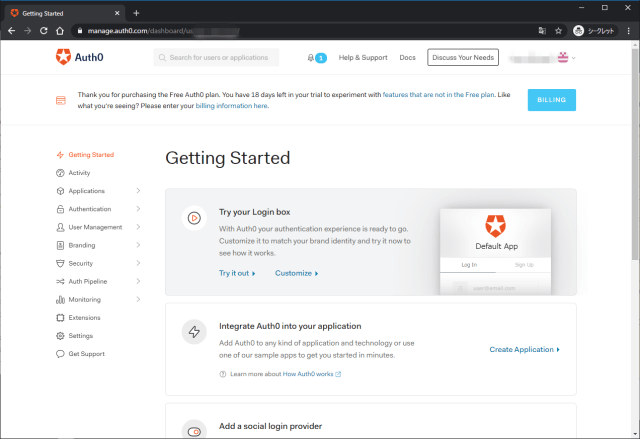
チュートリアルの開始
Getting StartedからIntegrate Auth0 into your applicationへ。Create Applicationからチュートリアルを開始。
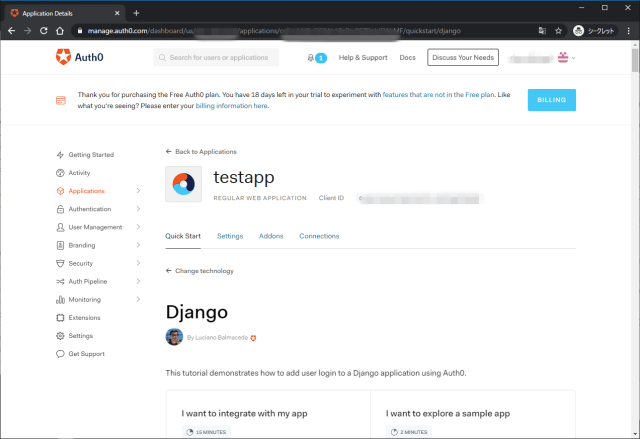
testappとして、Regular Web Applicationを選択。

Django選択。

作成されたアプリケーションのページ。
GitHubからサンプルをfork。

Python Social Auth is an easy to setup social authentication/registration mechanism with support for several frameworks and auth providers.
This is the Django component of the python-social-auth ecosystem, it implements the needed functionality to integrate social-auth-core in a Django based project.
Djangoプロジェクトにソーシャル認証を組み込み、OAuthによる認証認可を行うことができる。サンプルアプリ側ではこれを利用してauth0の認証を行っている。
Get Your Application Keys
When you signed up for Auth0, a new application was created for you, or you could have created a new one.
新しアプリケーションを作成すると、以下が発行されるので、Settingsから取得する。
- Domain
- Client ID
- Client Secret
Configure Callback URLs
A callback URL is a URL in your application where Auth0 redirects the user after they have authenticated.
The callback URL for your app must be whitelisted in the Allowed Callback URLs field in your Application Settings. If this field is not set, users will be unable to log in to the application and will get an error.
認証後のリダイレクト先。Settingsでホワイトリスト登録する必要がある。
Configure Logout URLs
A logout URL is a URL in your application that Auth0 can return to after the user has been logged out of the authorization server. This is specified in the returnTo query parameter.
The logout URL for your app must be whitelisted in the Allowed Logout URLs field in your Application Settings. If this field is not set, users will be unable to log out from the application and will get an error.
ログアウト後のリダイレクト先。Settingsでホワイトリスト登録する必要がある。
Django Settings
サンプルアプリはほぼ設定済で、環境変数のみ.envに設定すればOK。
1 | AUTH0_CLIENT_ID={CLIENT_ID} |
Install the Dependencies
pip install -r requirements.txtでインストール。チュートリアルのDockerイメージはビルドの中でこれらもインストールされる。
1 | django~=2.1 |
以下のDockerfileが用意されており、サンプルアプリを利用可能な状態になっている。
1 | FROM python:3.6 |
docker-composeで操作したいので、docker-compose.ymlを作成する。
1 | version: '3' |
1 | $ docker-compose up -d |
サンプルアプリへのログイン
【GET /】http://localhost:3000にアクセス。

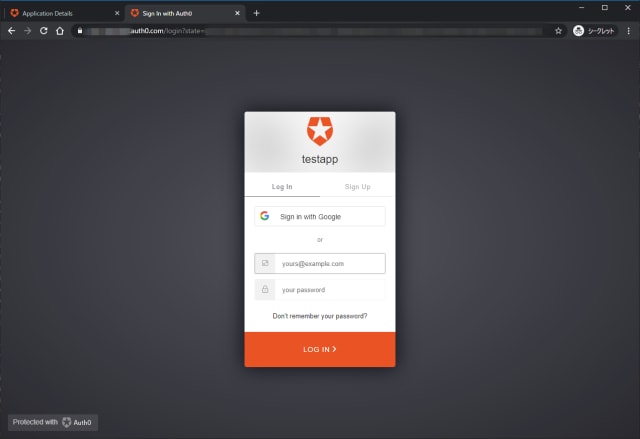
【GET /login/auth0】auth0のユニバーサルログインページに転送され、ログインすると…
【GET /dashboard】属性情報を表示されるアプリに転送され、渡されたユーザデータが表示される。

アプリサイドのログ
この時のサーバログは以下の内容
1 | Creating network "01-login_default" with the default driver |
Auth0サイドのログ
Auth0のログ

Type:Success ExchangeはAuthorization Code for Access TokenというDescriptionが付与されており、前述のGET /complete/auth0?code=で指定している認可コードを取得している。
内容はにRawとContextDataとしてJSON形式で確認できる。
Rawでは以下が表示され、アプリからのリクエスト情報が記録されている。
User-Agentはアプリであり、内部的に使用されるPython RequestsのUser-Agentが記録されている。
1 | { |
ContextDataにはdetailsの内容が入っている。
1 | { |
Type:Success Loginはクライアントのログイン認証の成功を示している。利用者からの認証であり、User-Agentは利用者のブラウザの情報が記録されている。
1 | { |
